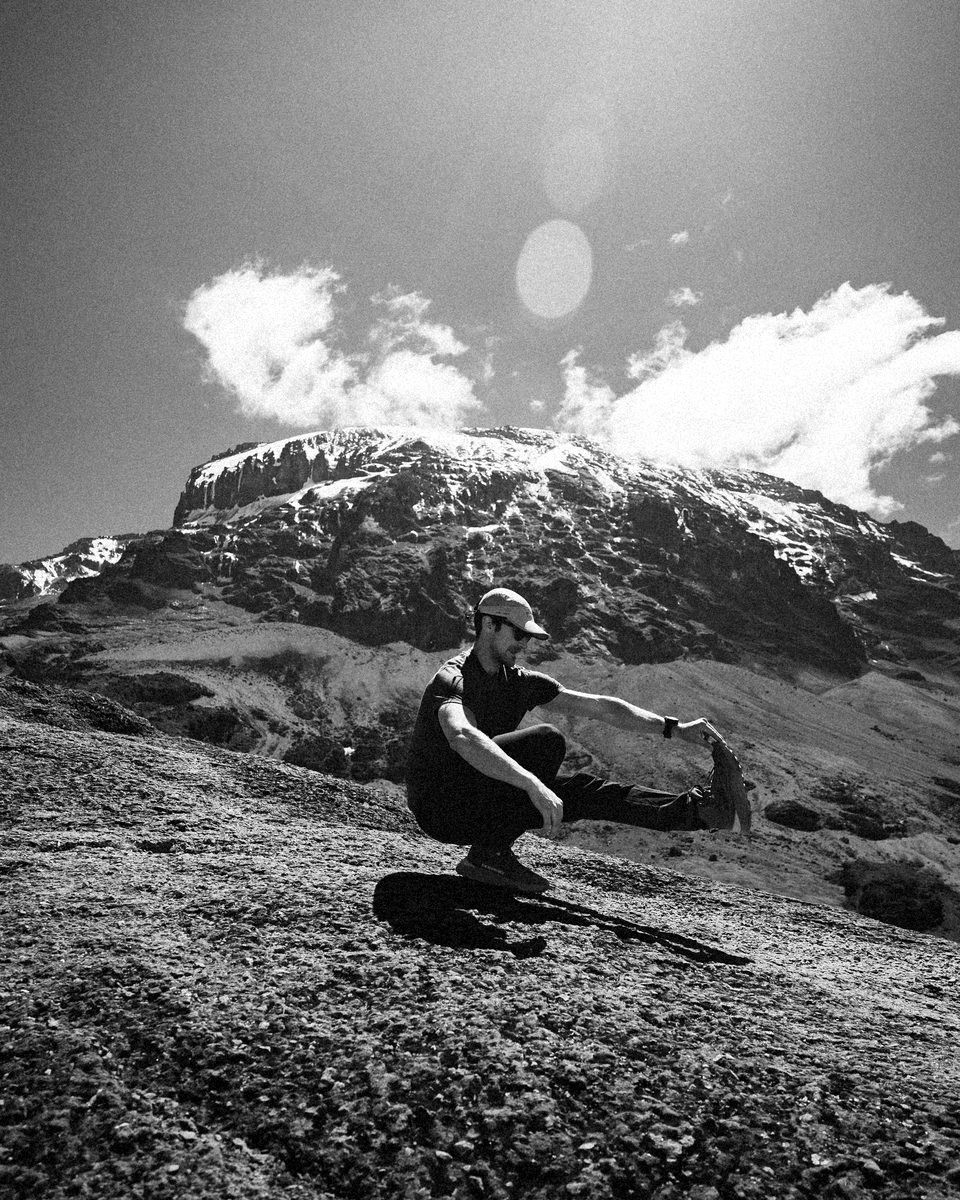
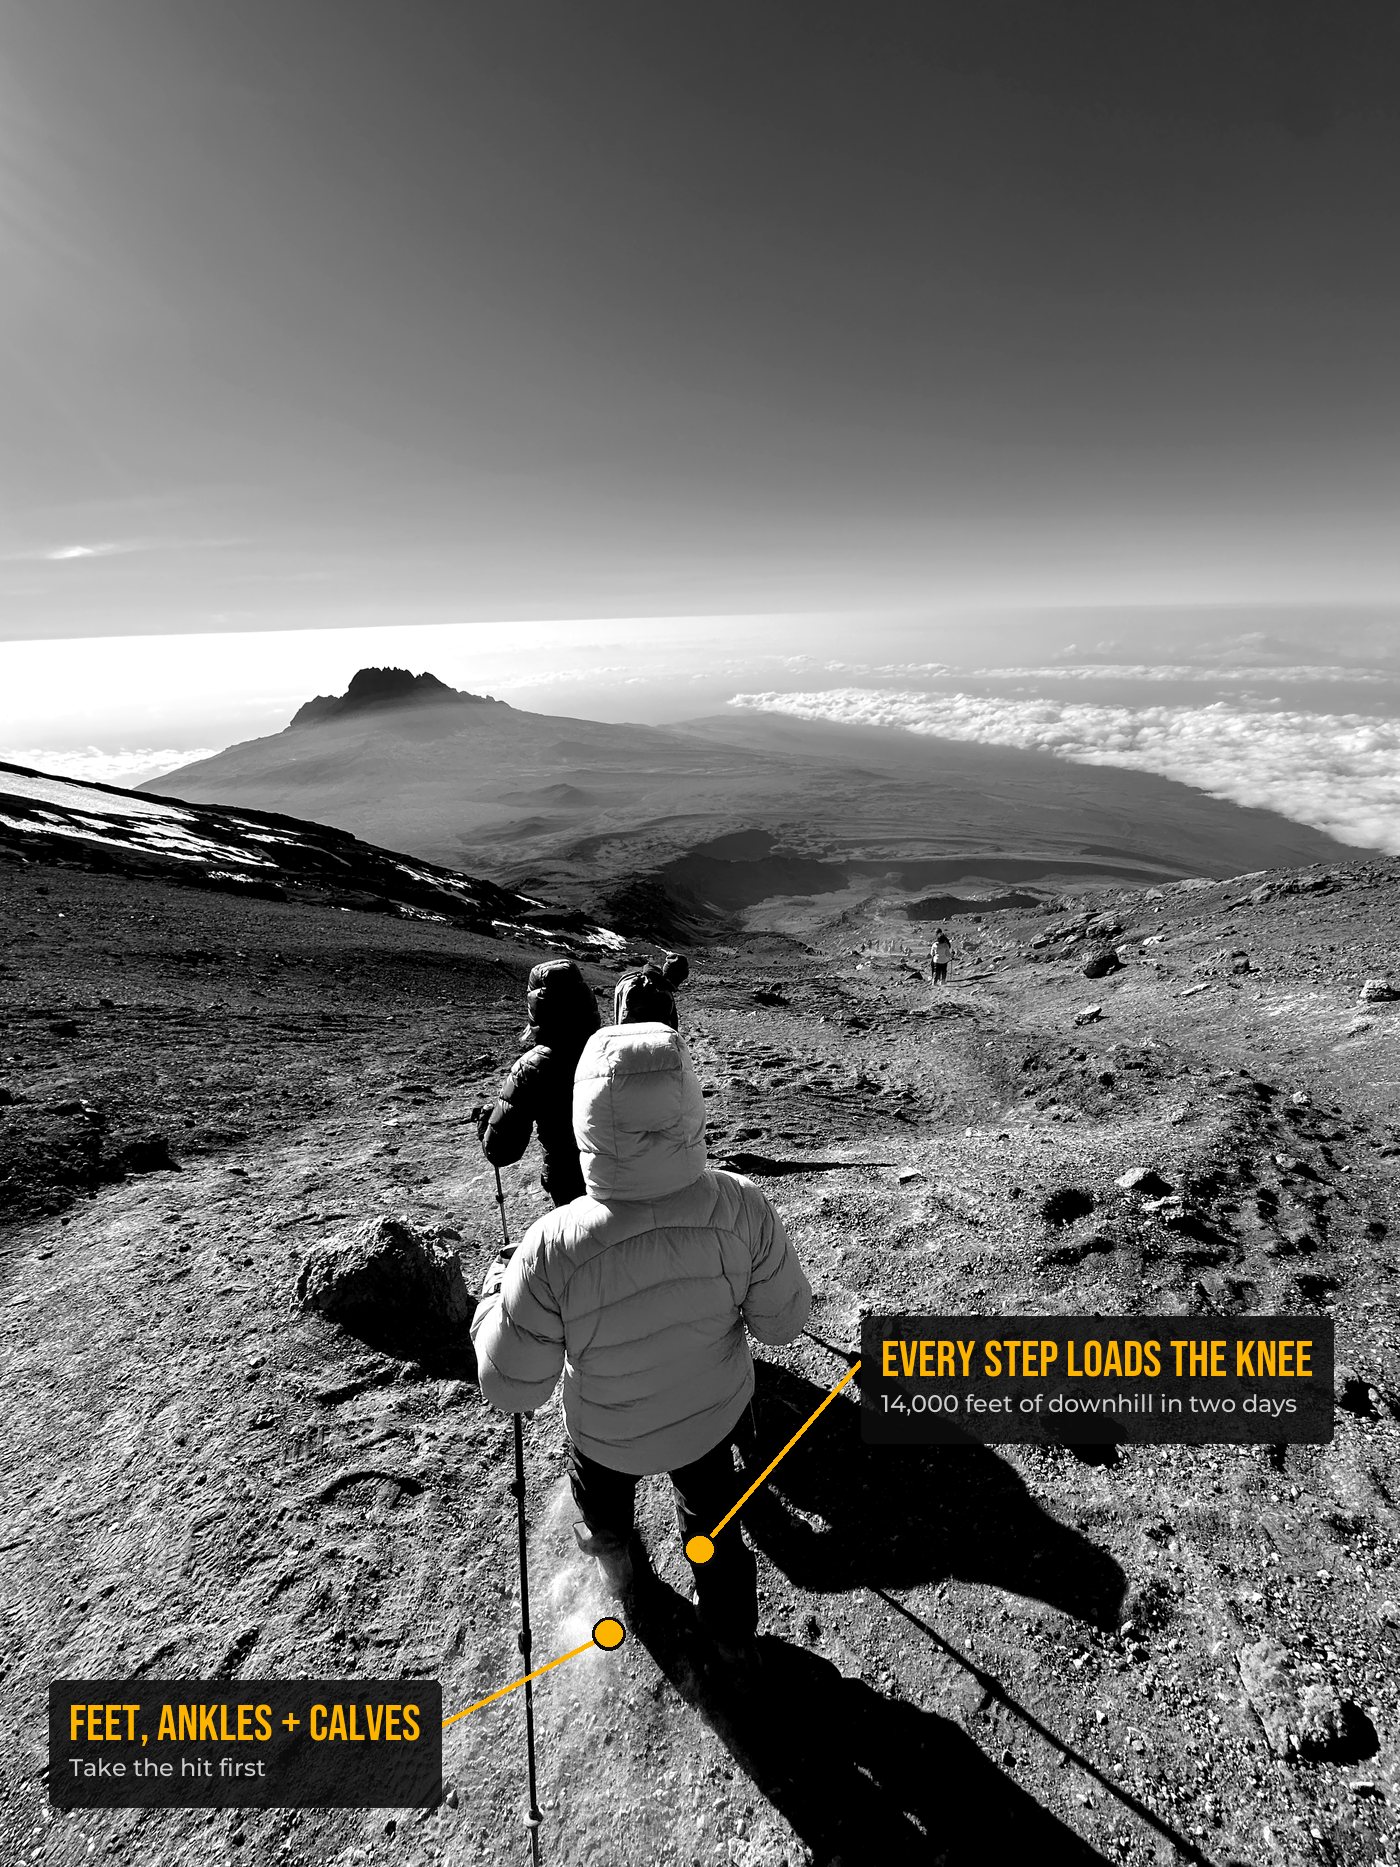
This year I summited Kilimanjaro. That's about 50 kilometers over nine days, 12,000 feet of climbing, and then 14,000 feet back down over the last two days, all on a knee with no ACL. I had zero knee pain the whole way, and I've thought a lot about why.
Part of it is the quad work I'll never stop doing. But a big part of it was everything I train below the knee: my feet, my ankles, my calves and my shins. That's what this post is all about. I'm going to walk you through why strong feet take so much stress off your knees, the muscles down there that do the work, and the exact exercises I use to train them, with a video for every one. I hope it helps!
Quick note: some of the links in this post are affiliate links. If you buy something through one, it costs you nothing extra and it helps keep this website alive.
Your feet are the tires on the car
Think of your feet like the tires on a car. You can have a fantastic car. It could be a freaking race car! But if the tires are flat or low on air, it's not going to drive the way it should, and sooner or later something else on that car is going to wear out because of it.
Your body works the same way. Your feet are the only part of you that touches the ground, so every step, every landing and every stride down a hill goes through them first. When your feet are weak or stiff, that force doesn't go away. It travels up to the next joint in line, and for a lot of us that means the knee.
After more than a decade in tight ski boots, my own feet took a beating. And when your feet stop doing their job, your knees start picking up the slack.
The ankle is the first filter
Your knee doesn't get to decide how much force it takes. The joints on either side of it do: your ankles below your knee and your hips above it.
Below the knee, your calves and your Achilles tendon work like a spring. They stretch to soak up each landing and then give that energy back when you push off. Your tibialis, the muscle on the front of your shin, lowers your foot to the ground under control, and the arch of your foot flattens a little to take the edge off the impact. Above the knee, your glutes and hips control where your thigh points and absorb a big share of the load on every landing.
When your ankles and your hips both do their jobs, your knee, sitting in the middle, only has to handle what's left over. When one of them doesn't, your knee picks up the difference. The ankle is the first filter because it's the first joint that force reaches on the way up, and the movement that matters most there is called dorsiflexion.
What dorsiflexion is (and why your knees care)
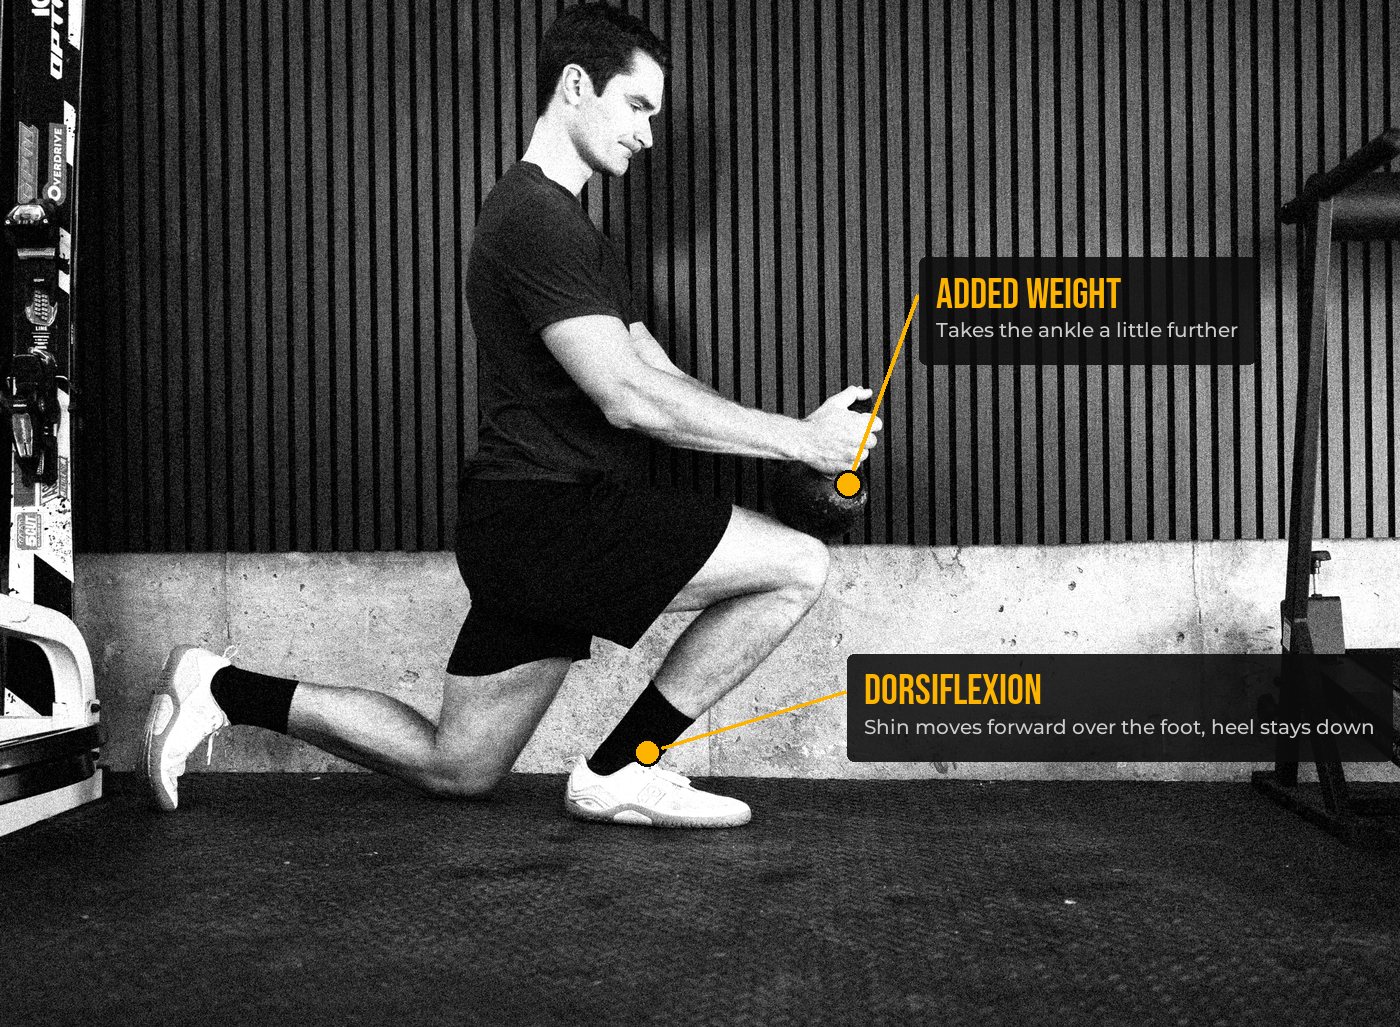
Dorsiflexion is just your shin moving forward over your foot while your heel stays on the ground. If you read my post on knees over toes training, it's the same idea from the other end: your knee can't go over your toes unless your ankle bends first.
You need it for walking down stairs, squatting, landing a jump and hiking downhill. When your ankle runs out of room, your body goes looking for that range somewhere else. Usually your heel pops up, or your foot rolls in and your knee caves in with it, right when the load is at its highest. One study of 35 active people found that the ones with more ankle range bent their knees more when they landed from a jump and hit the ground with less force. Put simply, mobile ankles helped them land softer.
The muscles below your knee (and what each one does)
There's a lot more going on down here than "the calves," so let's go through the muscles that matter most for your knees.
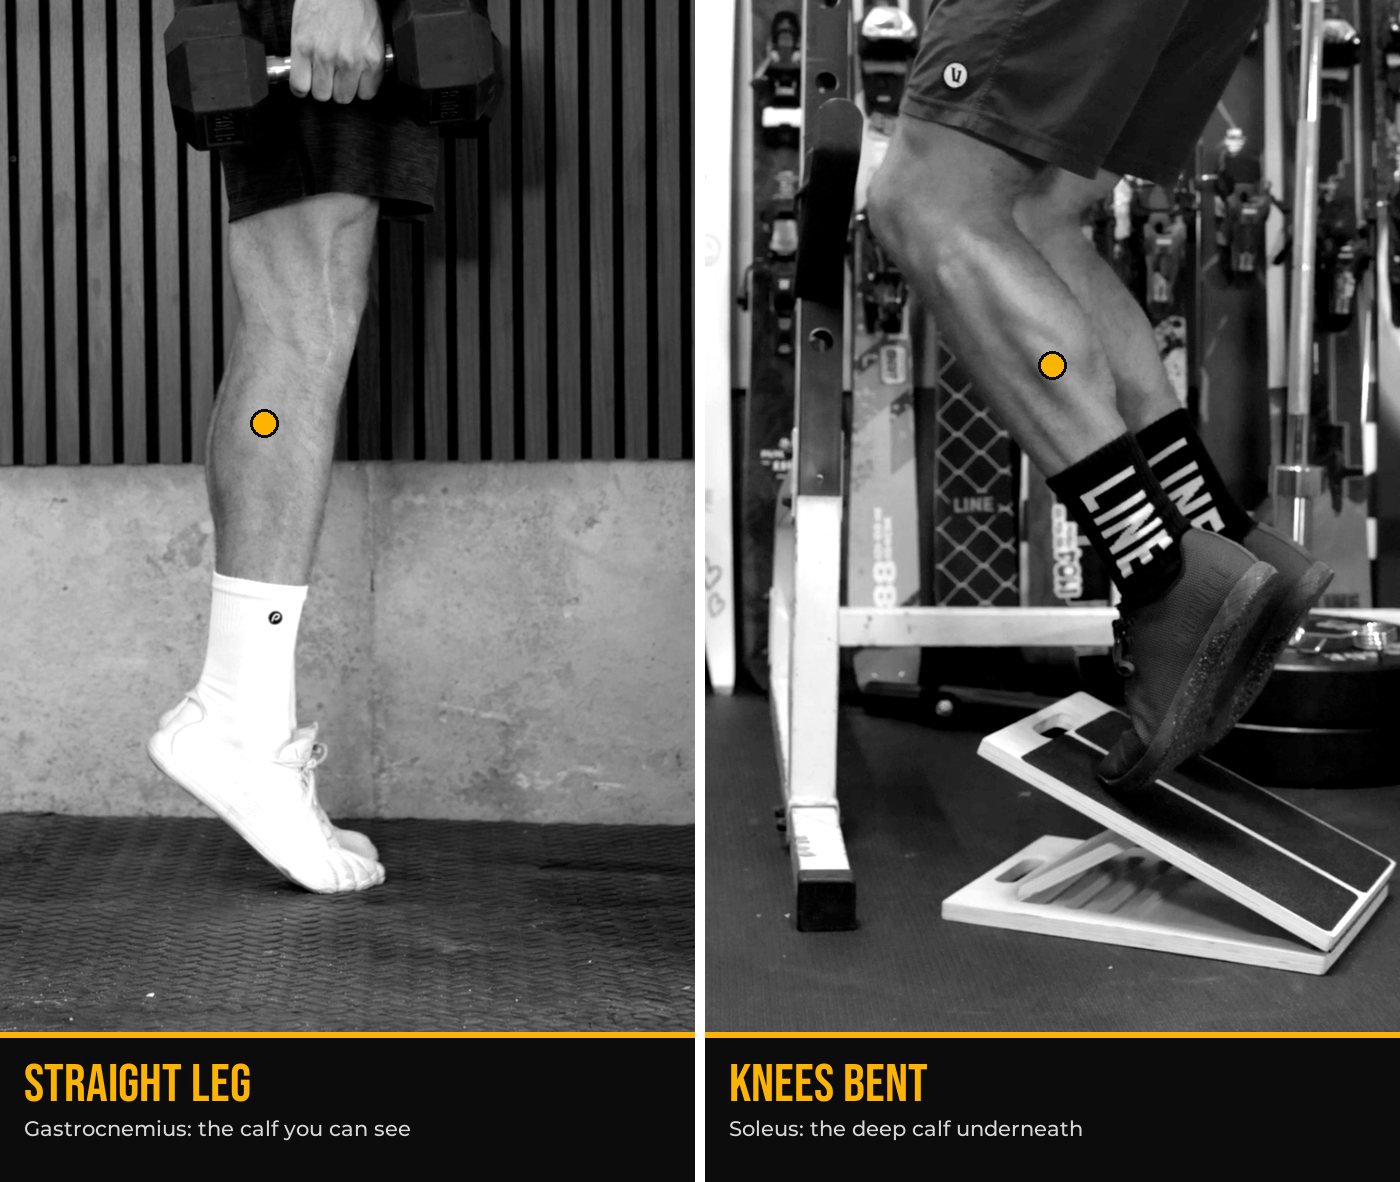
Gastrocnemius. This is the calf muscle you can see. It crosses the back of your knee, so it works hardest when your leg is straight, and it's your push-off muscle for walking, running and climbing.
Soleus. The soleus sits underneath the gastrocnemius, and it takes over when your knee is bent, which is exactly where you are on stairs, on a steep descent and at the bottom of a squat. It's built for endurance. One running study found that the soleus and gastrocnemius did more than any other muscles to hold the body up at every speed short of a sprint. My take is that when your calves run out of gas late in a hike or a run, something else has to pick up that work, and your knees are next in line.
Tibialis anterior. This is the muscle on the front of your shin, and I think of it as the brakes. Every time you step down a stair, a curb or a mountain, your tibialis is lowering your foot to the ground under control. It rarely gets trained directly, which is why it responds so fast once you start. I wrote a whole post on why tibialis raises help knee pain if you want to go deeper.
Tibialis posterior. Its partner runs down the inside of your shin, wraps behind your inner ankle bone and attaches under your arch. Its job is to hold your arch up. When it's weak, your arch drops, your shin rotates inward and your knee follows it.
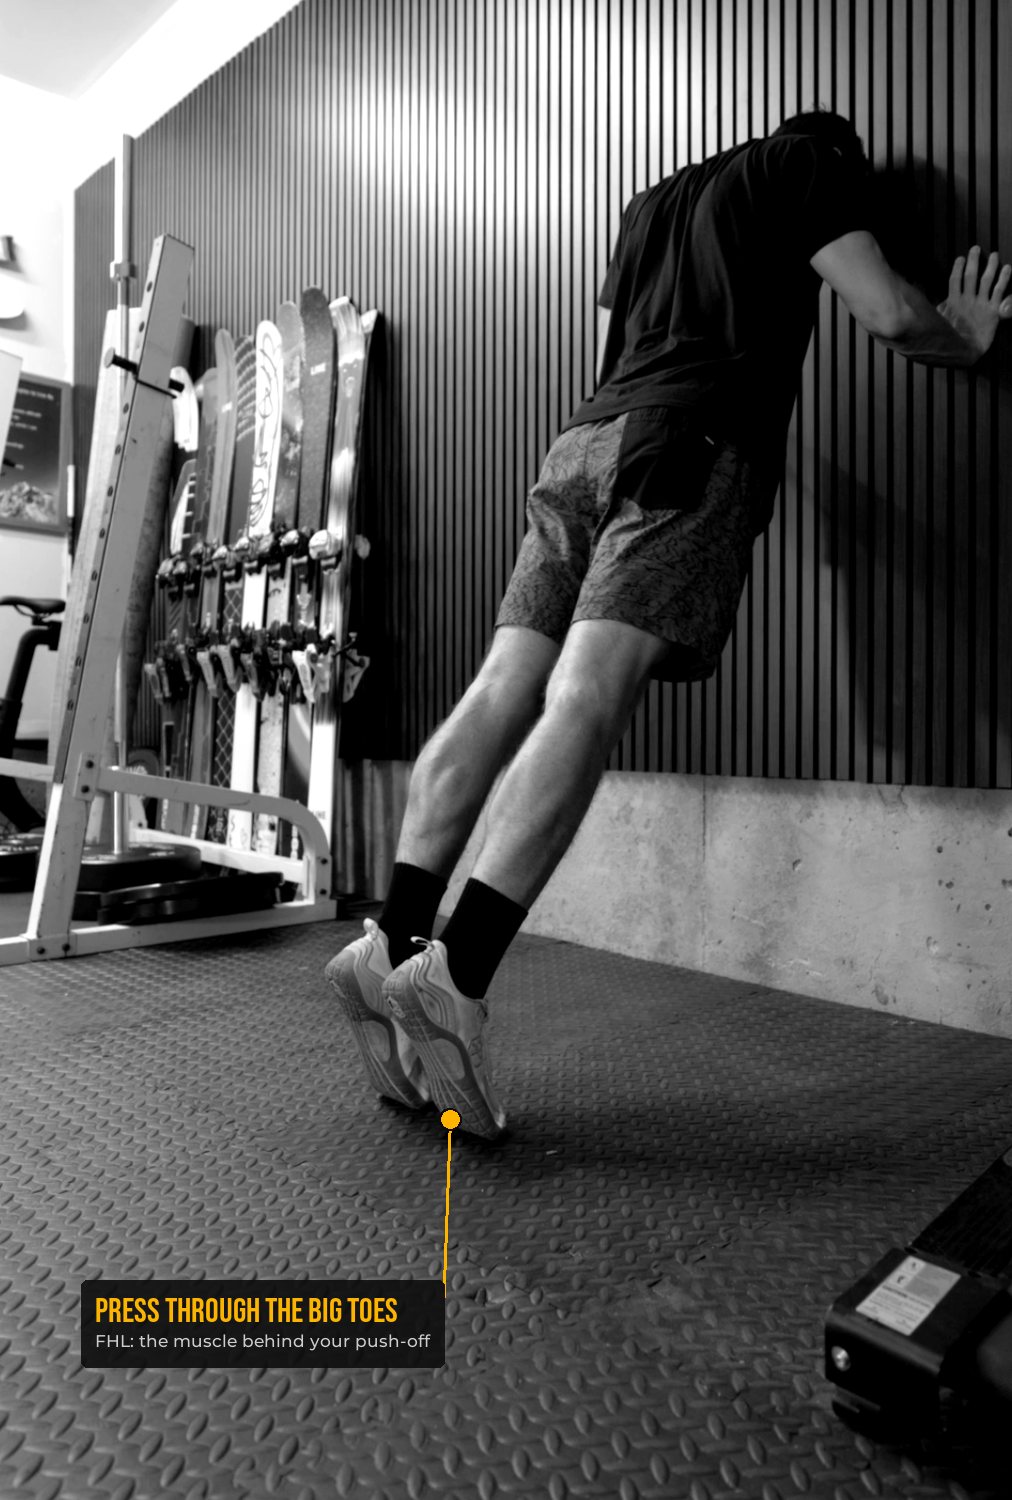
FHL (flexor hallucis longus). That's a mouthful, so just think of it as your big toe muscle. It starts deep in your calf, runs behind the inside of your ankle and goes all the way to the tip of your big toe. Your big toe is the last thing to leave the ground on every step, so a strong FHL gives you a solid push-off and helps support your arch too.
The peroneals. These run down the outside of your lower leg, and they're what keeps your ankle from rolling on uneven ground. If you hike, trail run or ski, you want these strong.
The small muscles inside your feet. There are four layers of small muscles in the sole of your foot that hold up your arch and control your toes. Researchers have started calling them the "foot core," because they do for your foot what your core does for your trunk. They don't get much work when your feet spend all day in stiff shoes (or ski boots, in my case).
The exercises I use (and why each one is in there)
You've probably seen a few of these in my guides. I've linked a video of me doing almost every one so you can see exactly what it looks like, and I'll tell you why it's in there, because knowing the why is what keeps you doing them. Start with one or two from each group. You don't need all of them at once!
Calves
- Straight-leg calf raises. Legs straight, all the way up, slow on the way down. This one is for the gastrocnemius. Start with: 2 sets of 15 to 20.
- Single-leg calf raises. The same movement on one leg, which is the only way to find out if one side is weaker than the other. The number I want you working toward is 25 clean reps per side. Start with: 2 sets of 15 per side, or as many as you can do well.
- Knees over toes calf raises. Bend your knees forward over your toes, then raise your heels. Bending your knees takes a lot of the gastrocnemius out of it, so the soleus does the work. Start with: 2 sets of 15 to 20.
- Bent-knee calf raise holds. Hold the top of a bent-knee calf raise on one leg. Holds load your calf and your Achilles tendon with no impact, so they're a nice option on days when things feel cranky. Start with: 2 holds of 30 seconds per side.
- Eccentric heel drops. Stand on the edge of a stair, rise up on two feet, then lower slowly on one foot until your heel is below the step. Slow lowering is one of the best ways I know to build up the Achilles tendon, and your Achilles is what lets your calf do its job on a long descent. Start with: 3 sets of 10 per side.
Shins and arches
- Tibialis raises. Back against a wall, heels out in front of you, and pull your toes up toward your shins. This trains the brakes. Start with: 2 sets of 20.
- Calf raises with a ball between your heels. Squeeze a lacrosse ball or a tennis ball between your heels and do your calf raises without dropping it. The squeeze switches on the tibialis posterior and the small muscles in your arch. If you run, I'd put this one near the top of your list. Start with: 3 sets of 12.
Feet and toes
- FHL calf raises. Lean into a wall with your feet back and do your calf raises with the pressure on your big toes. This is the one for your big toe muscle and your push-off. Start with: 3 sets of 8 to 10.
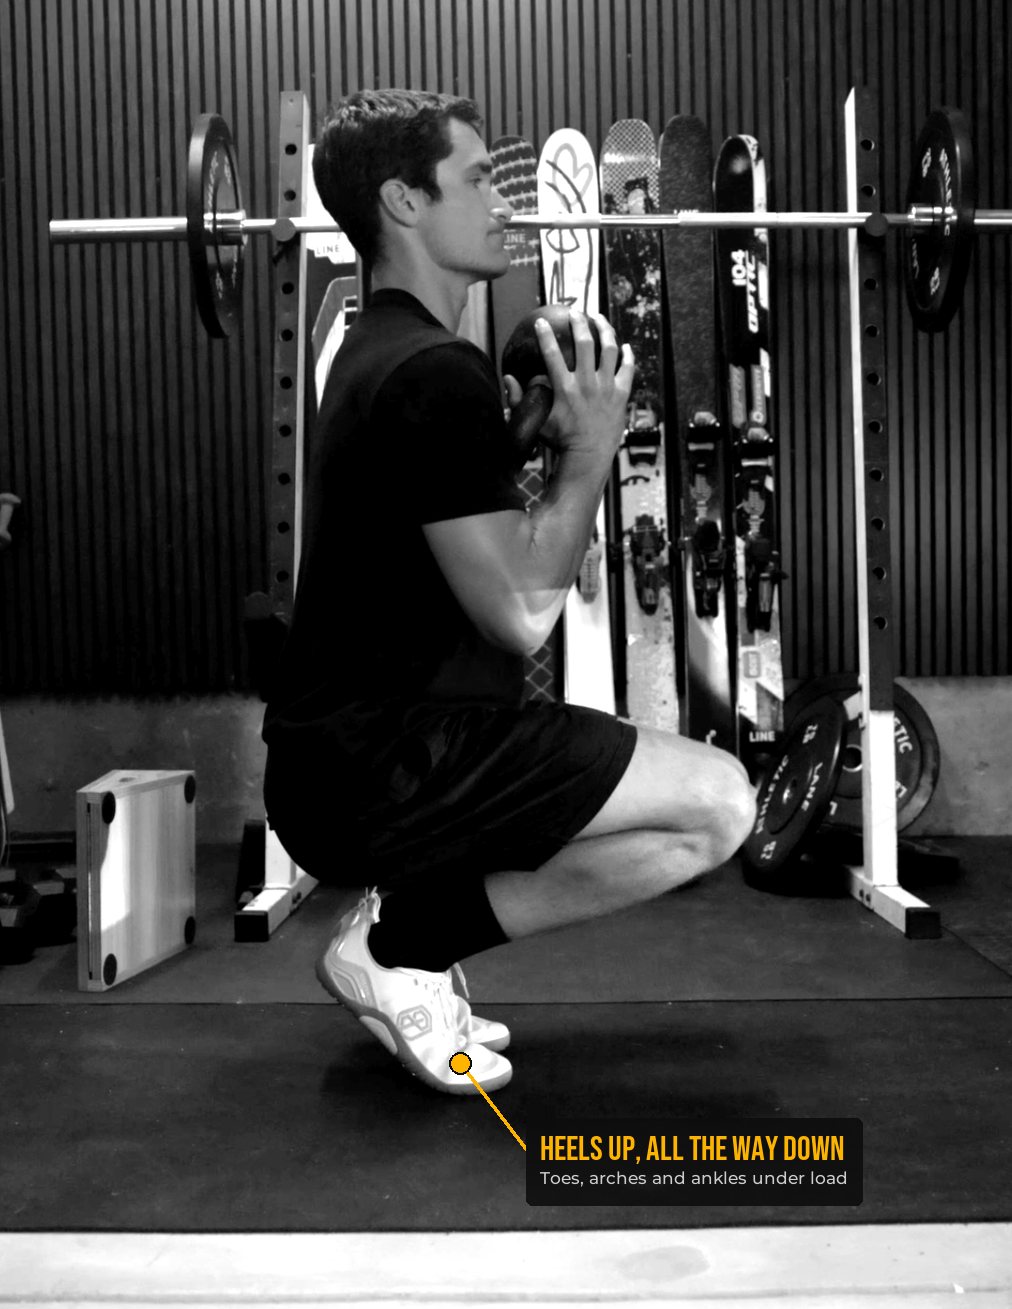
- Toe squats. Squat all the way down while staying up on the balls of your feet, then stand back up. Your toes, arches, ankles and knees all get worked through a full range of motion at once. Hold onto something for balance at first. Start with: 2 sets of 8.
- Deep squat to toe sit. Sit in a deep squat, then rock forward onto your toes and back again, nice and slow. I like this one at the end of a session. Start with: 2 sets of 5.
- Single-leg balance. Stand on one foot for 30 seconds. Once that's easy, close your eyes. Once that's easy, move to an unstable surface like a balance trainer. This is how you teach the peroneals and the small muscles in your feet to react quickly. Start with: 2 rounds of 30 seconds per side.
- Go barefoot and spread your toes. I train barefoot whenever I can, roll out my arches, heels and forefeet, and work on lifting my big toes and spreading my toes apart. It doesn't have to look sexy. It just has to work :)
Ankle mobility
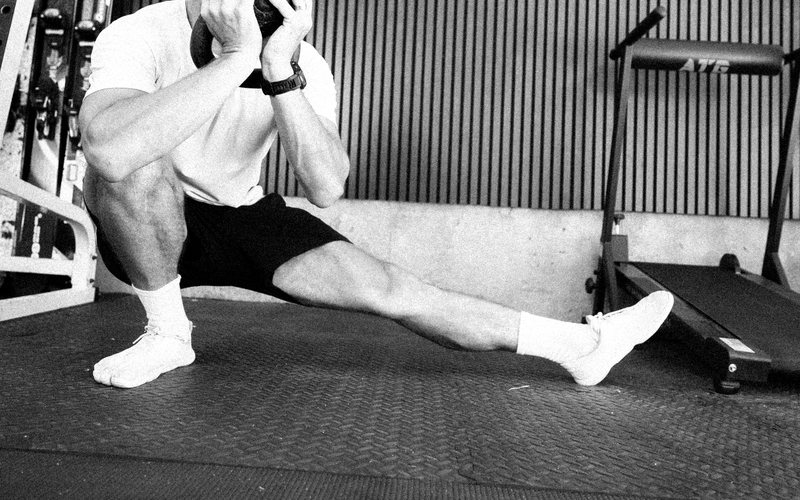
- Weighted dorsiflexion stretch. This is the one in the photo near the top of this post. Get into a half kneel, rest a kettlebell or a dumbbell on your front knee, and let the weight push your knee forward over your toes while your heel stays down. Start with: 2 sets of 12 slow reps per side.
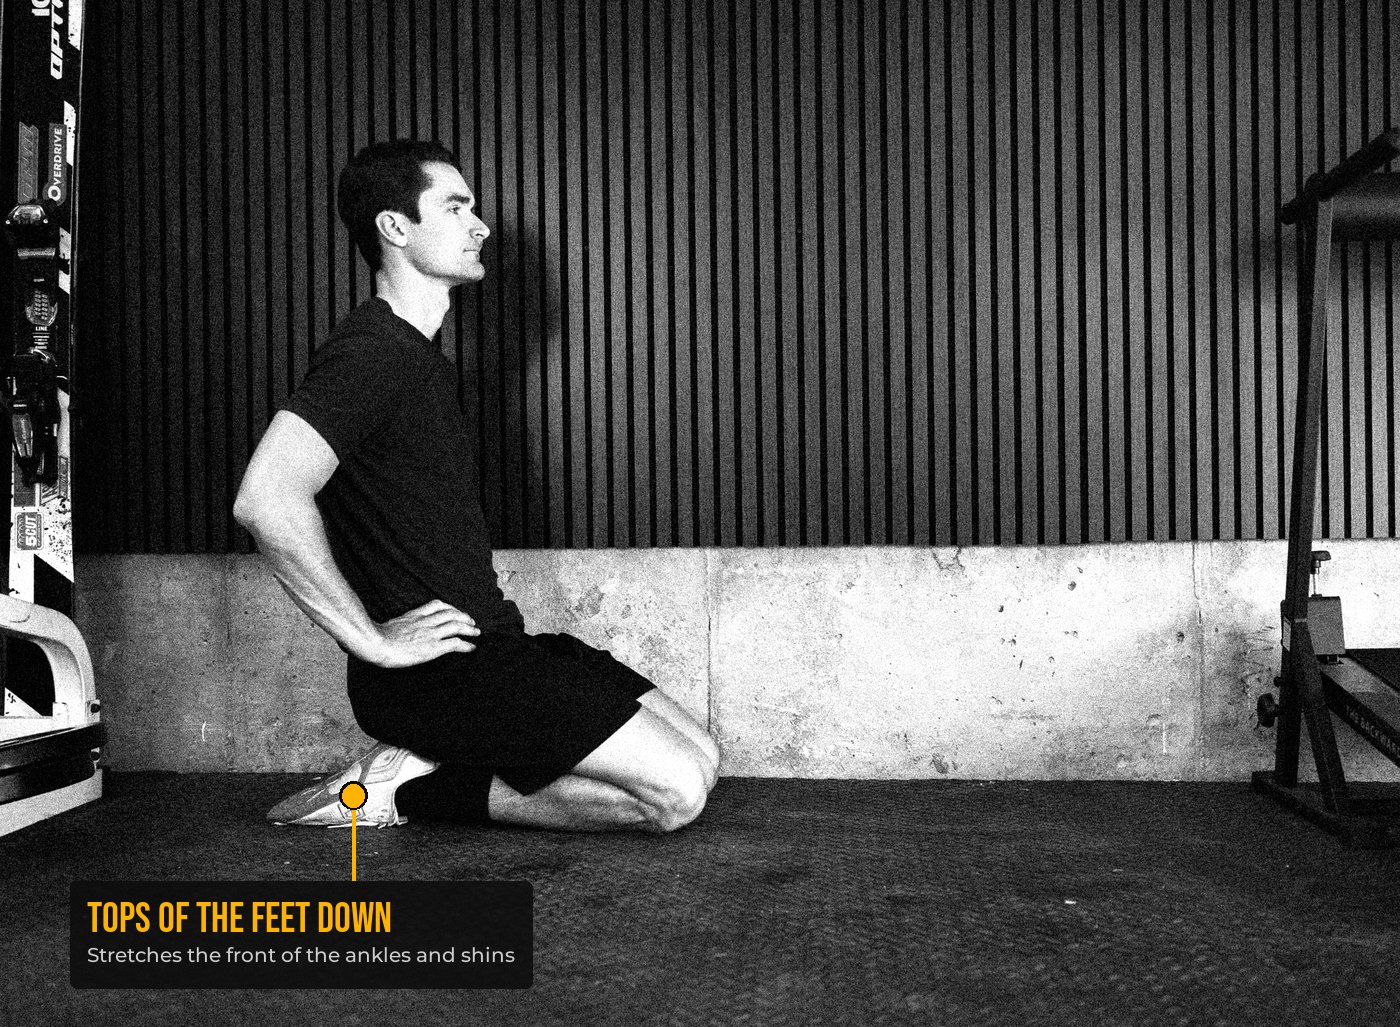
- Seiza. Seiza is the Japanese word for kneeling and sitting back on your heels with the tops of your feet on the floor. It stretches the front of your ankles and shins, which hardly anything else does. If it's too much knee bend for you right now, put a pillow between your heels and your hips. Start with: 60 seconds.
- Ankle rolls. Slow circles through the whole ankle, in both directions. Start with: 2 sets of 5 per side.
Backward walking
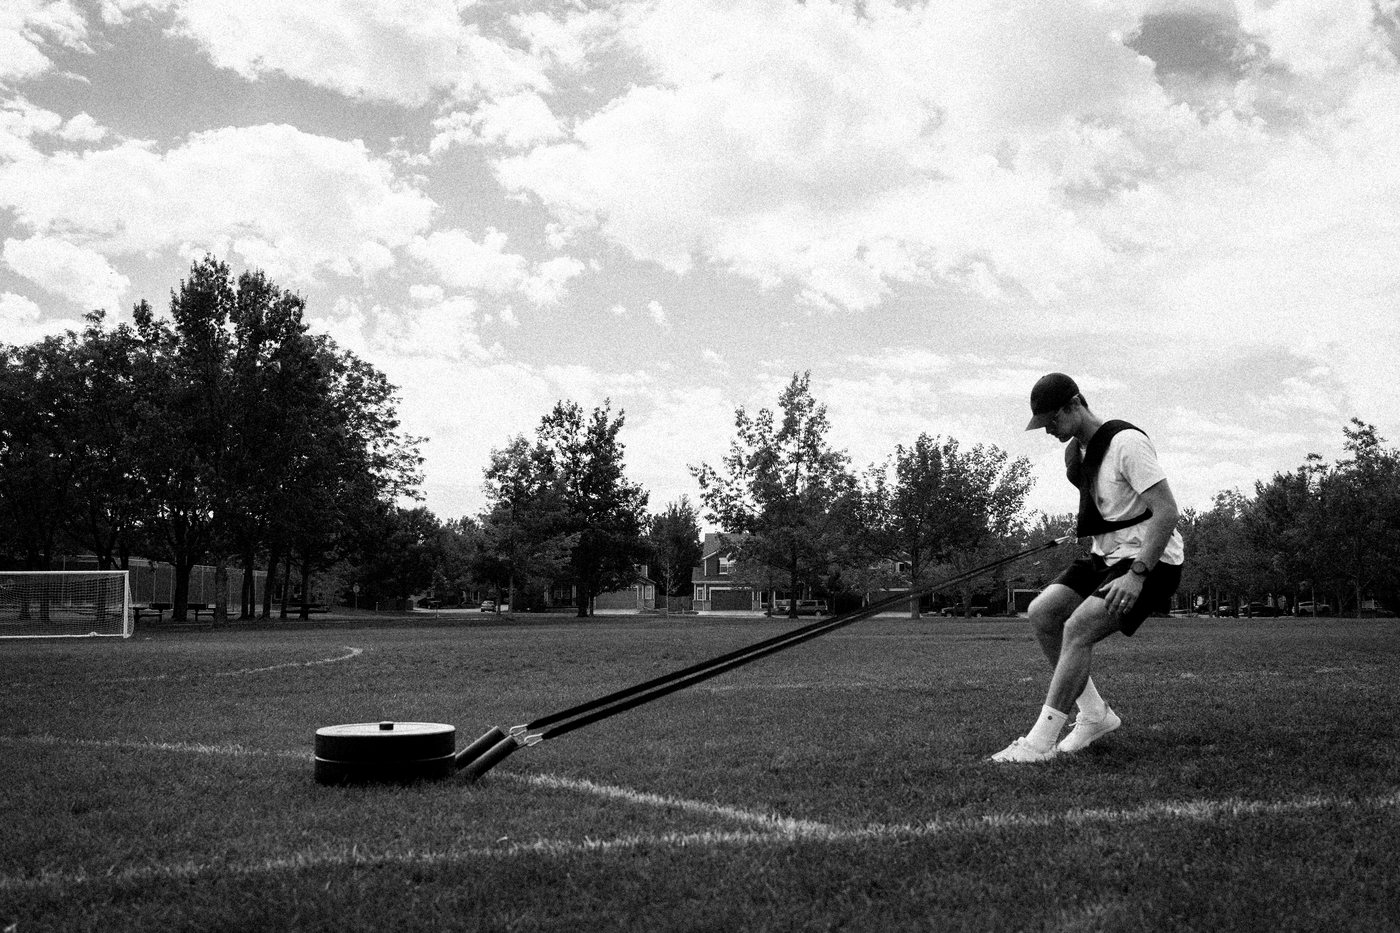
Backward sled drags, or walking backward on a treadmill that's turned off. Every backward step lands toes first and then heel, so your feet, your calves and your quads all work together with almost no impact. It's the gentlest knee exercise I know, and it's where I'd start anybody whose knees ache going downhill. I wrote a whole post on why backward sled drags are so good for your knees, and the ATG backward treadmill is how I do it in my garage (here's my full review of it). Here's a quick demo.
Start with: 5 to 10 minutes.
If you'd like to see a lot of these in action, I put eleven of my favorite ankle exercises into this Instagram carousel.
The gear I use for my feet
You can do almost everything in this post with no equipment at all. With that said, a few tools have made a real difference for my feet, and they all come from Spacer Mobility: the balance trainer I'm always using, their toe spacers and their toe mobility bands. (My code CONNOR10 is already applied through that link.)
I also teamed up with them on this Instagram reel, where I show ten ways to train your feet.
How it fits into your week
Your feet are part of the equation, but they're not the whole equation. I like to think about training from the ground up: start with your feet, then your calves and shins, then your knees, then your hamstrings, hips and glutes. That's how I like to warm up for every session.
In practice, that means about ten minutes of below-the-knee work at the start of a session, twice a week. Pick one or two exercises from each group above and do two sets of each. Even on days when you're short on time, a couple of warm-up sets of tibialis raises and calf raises will really get your feet going before you load anything else.
In my experience these muscles respond pretty quickly once you start training them. Same rule as always: if your knee or your Achilles feels worse than it did the day before, back off the range of motion or the weight you're using and go from there. Patience is key.
If downhills, stairs and descents are what bother your knees, I put together a free guide built around exactly this. It's the routine that got my knee ready for Kilimanjaro: eleven movements, twice a week, about thirty minutes.